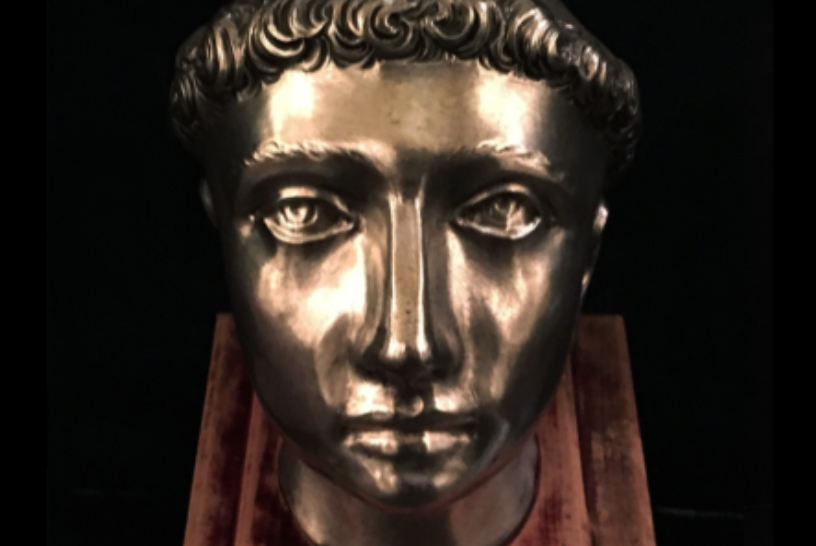
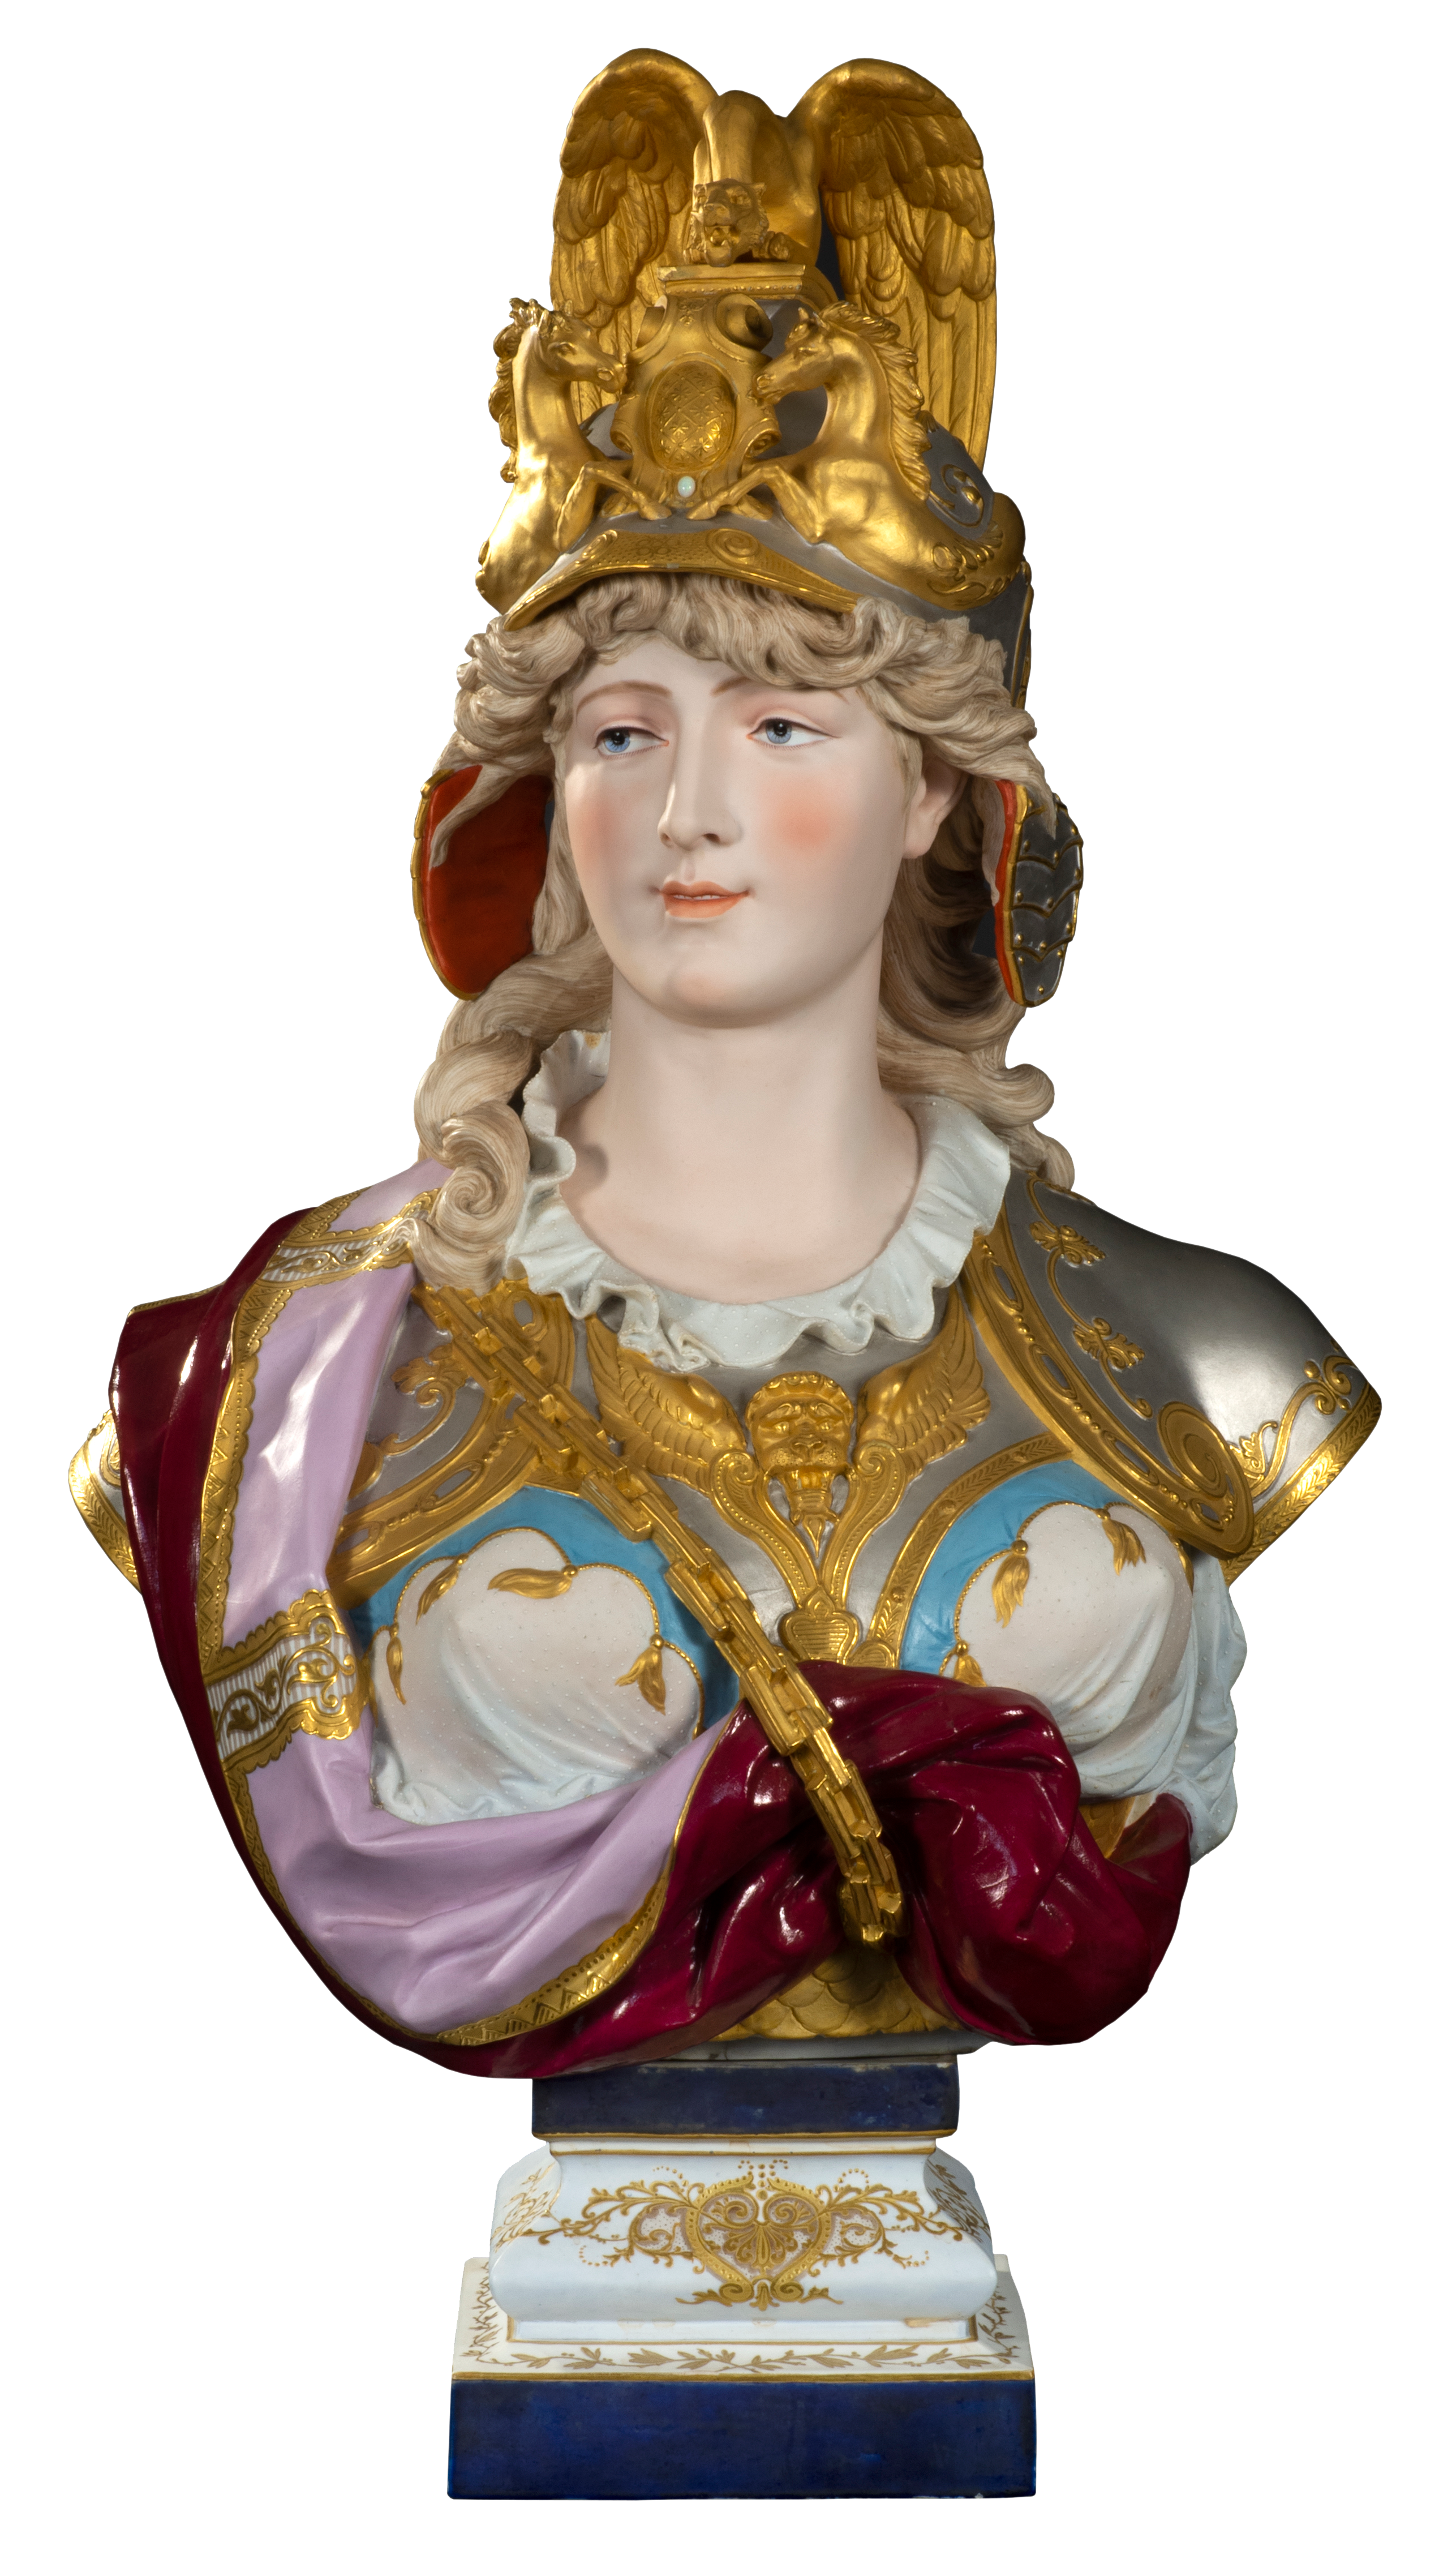
Bust of Athena
Porcelain
Unknown Sculptor, after Paul Duboy
French, 1860-1880
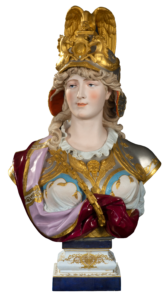
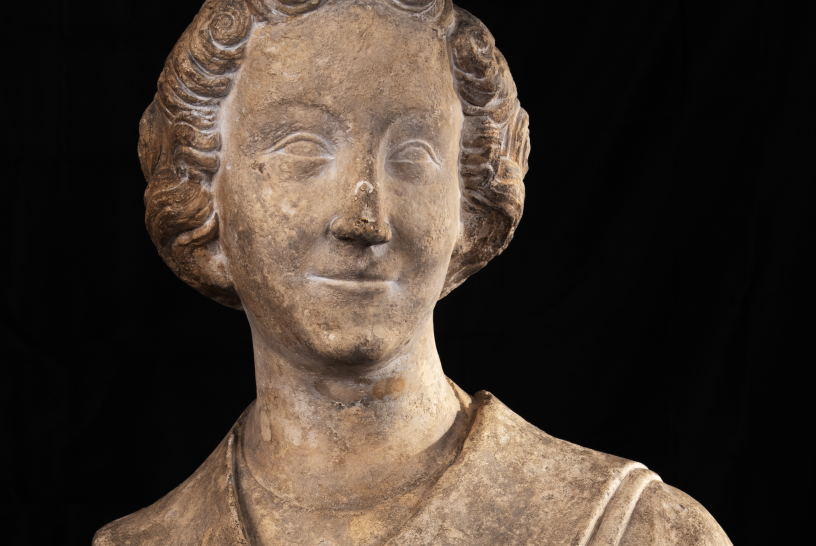
M&G’s magnificent porcelain bust of a female warrior presents the viewer with two fascinating mysteries.
Who Crafted It?
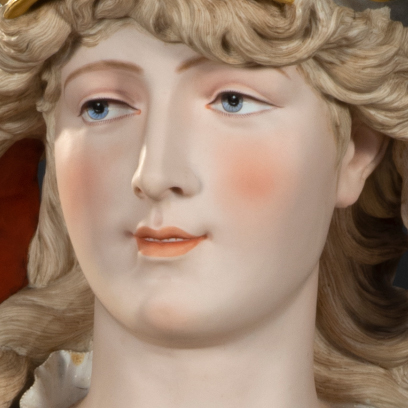
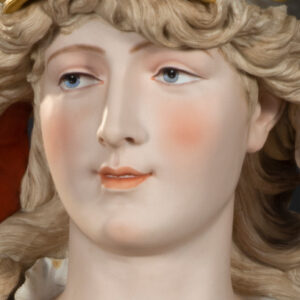 The bust has no signature or manufacture’s marks. The base does, but documented provenance of the piece, which dates to the mid-twentieth century, reveals that the base is not original to the sculpture. Experts have examined M&G’s bust and place its manufacture in France between 1860 and 1880. At that time similar, elaborately dressed busts were popular, and the techniques needed to produce the richly colored glazes for the clothing and accessories while leaving smooth, lightly colored biscuit porcelain for the skin and various details had been perfected. The contrast between the solid, smooth, glossy sections and the soft, matte texture of the biscuit sections heightens the visual interest of works like these.
Paul Duboy (1830-1887), a French sculptor, exhibited his sculpture at the prestigious Paris Salon from 1853-1882. Duboy made and signed busts similar to M&G’s sculpture, which lacks his elaborate signature on its back. Yet, because of its similarity to his other works, authorities have suggested using “in the manner of” or “after” Paul Duboy.
Who Is This Female Warrior?
From the pantheon of candidates, the personification of the French Republic has been suggested. During the French Revolution, Marianne embodied the qualities valued by French citizens: liberty, equality, fraternity, and reason. M&G’s bust, however, lacks the Phrygian cap, laurel wreath or spiked diadem, and other visual symbols attributed to Marianne.
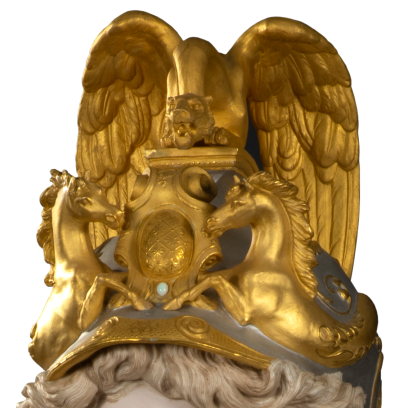
The Greek goddess Athena is a more likely candidate. Zeus, the chief Greek deity, was her father. Legend tells that Athena sprang full-grown from Zeus’s forehead dressed in complete Greek armor. As the goddess of war, Athena participated in the Trojan War and has generally been portrayed with a spear or bow and arrows. She was also the goddess of domestic handicrafts, animal husbandry, and wisdom. Generally, she used her wisdom to supply warriors with the tactics, strategy, and inspiration needed to defeat enemies. Animal symbols associated with Athena include the owl and snake, both representing wisdom (she also cursed Medusa with hair of snakes), and the horse referencing her teaching man how to tame the animal. While an unusual artistic reference, perhaps the horses on M&G’s helmet symbolize this lore. The eagle-winged dragon atop M&G’s helmet, however, has no known Athenian reference.
 Another possible female warrior may be Minerva, the Roman version of Athena. The two share similar attributes, but the Roman goddess of war is usually depicted wearing an Attic helmet, which does not cover the face but often has ear guards, and may have decorative elements on top. Roman soldiers typically wore Attic helmets and variations were common after the fall of the Roman empire. M&G’s bust wears a greatly-modified and highly-decorated Attic helmet.
Virtually all artist renderings of both Athena and Minerva wear loose-fitting Greco-Roman garments, even when they wear armor. M&G’s bust is elaborately dressed and draped in the manner of many busts from the period of its manufacture. She also wears hints of decorative gold armor and a massive, ornate gold chain.
Some of the busts produced in this period are identified as famous individuals and with a name included on the sculpture. Most, however, are simply beautiful works of art with generic titles, not based on any specific individual. M&G’s bust may simply be a beautiful porcelain piece by an unknown, skilled artist depicting a female warrior.
The bust has presented more mysteries than answers. However, if you examine the piece closely you can be assured of two things: you will be impressed with its artistic quality and beauty, and you will gain a better understanding of the phrase “a porcelain complexion.”
Bill Pinkston, retired educator and M&G volunteer
Published 2024